Axure Tutorial: Axure File Uploading and Subsequent interaction Settings with JavaScript
Introduction
Axure's default text field has a file input type. However, the upload button is not very beautiful, and there is no subsequent interaction after uploading. In this tutorial, we will learn how to solve that problem.

Features to be Realized
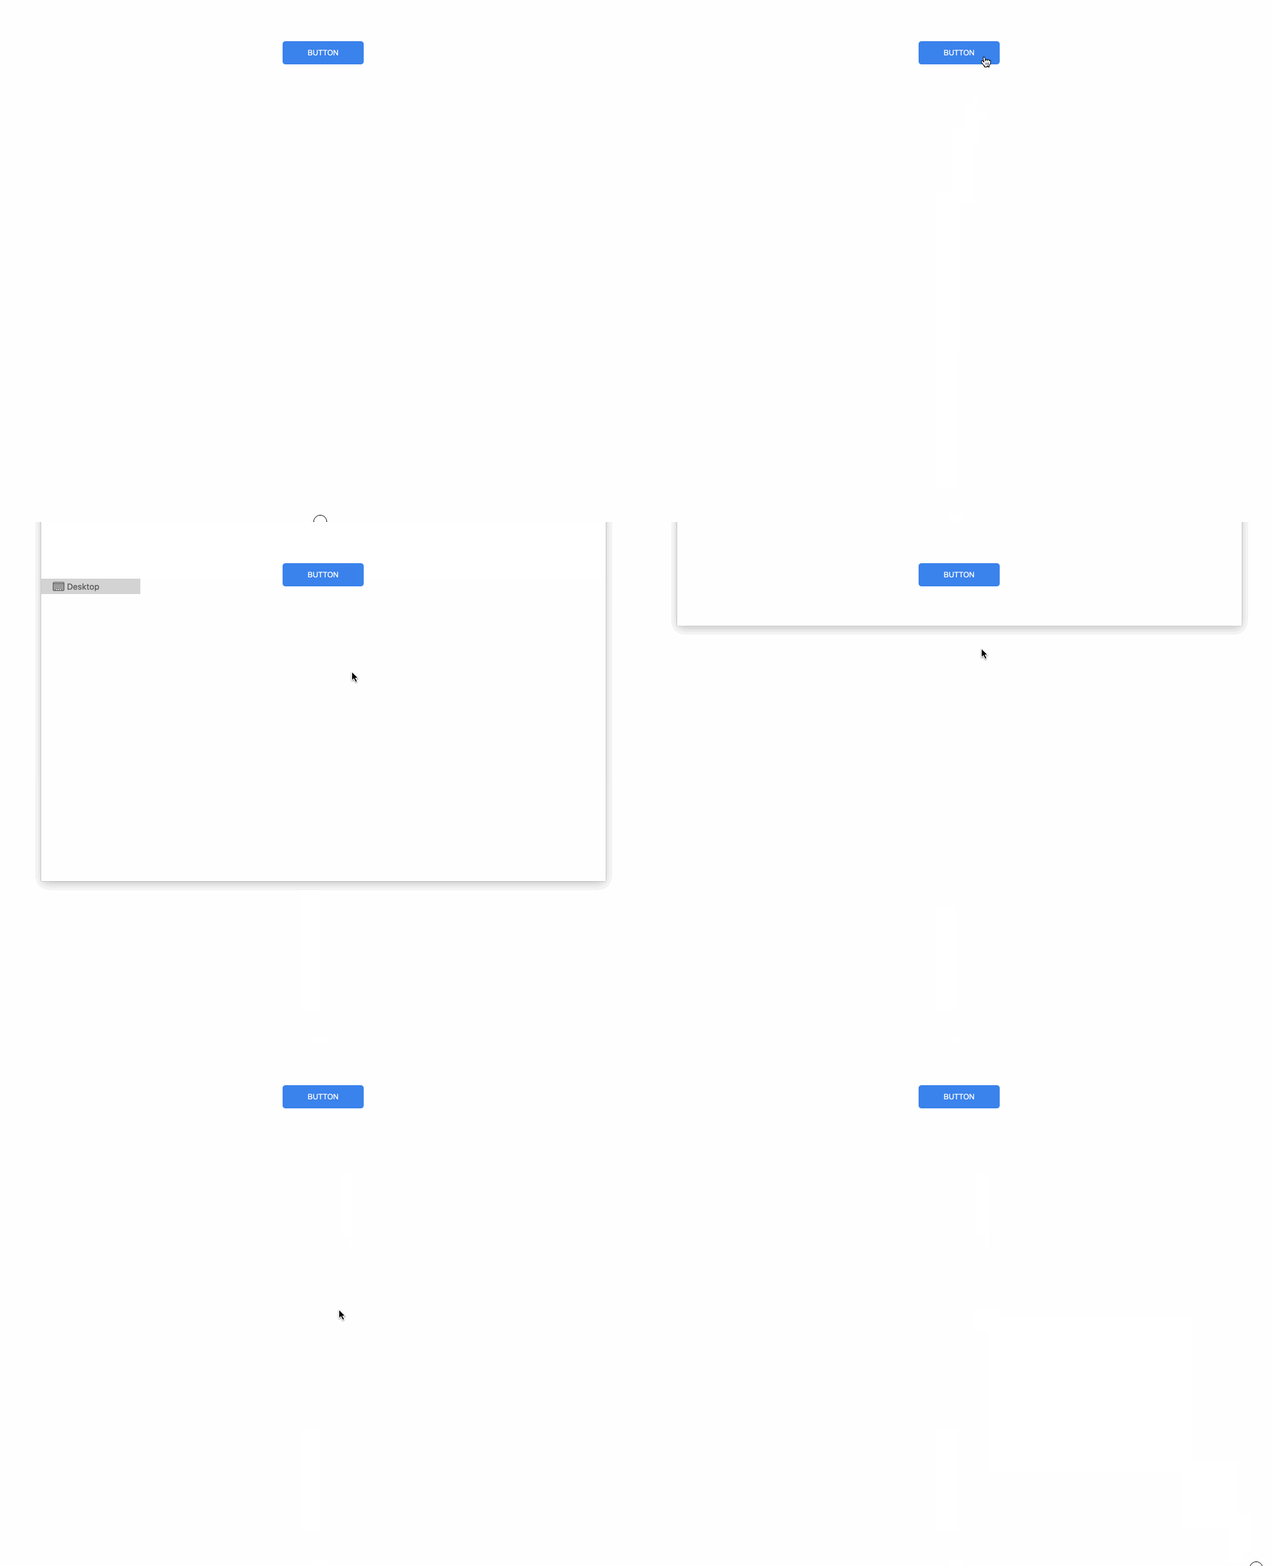
1. When the button is clicked, the browser's file selector is called. When the file selection is completed, the uploading dynamic panel is shown.
2. Hide the upload panel when you click it.
How to Realize these Features
By calling JavaScript functions.
Preview the completed prototype for this tutorial
Widgets Setup

1. Drag in a button, a text field, a dynamic panel. Name the text field file and set the input type to File. Create a rectangle in the dynamic panel, add texts, and name it panel. Style button and dynamic panel.

2. Pin the dynamic panel to browser window.
3. Set dynamic panel and input to hidden. We will call up the browser to add file when we click the button, and show the dynamic panel after selecting the file.
Interactions Setup

javascript: var f=$("[data-label='file']").children()[1];
$("[data-label='file']").change(function(){ $("[data-label='panel']").attr("style","display:block;");
$("[data-label='panel']").attr("class","ax_default");
$("[data-label='panel']").css("visibility", "visible"); });
Front end programmers should be able to see that this is actually a piece of JavaScript code, which is mainly used to obtain the input control, named f; Set the response event of the input control. In the response event, set the dynamic panel to be visible. You can view the front-end code through F12.

2. Set when the upload button is clicked, open the external link, and enter in the input box:
javascript:f.click();
F is the variable just entered. Call its click method to open the file upload dialog.
In this way, all the settings are completed. If you have any questions and suggestions, please leave a message.
If you like the article, please share it with others with page link, thanks for your supporting! ❤
Note: Click here to download the completed RP file for this tutorial (RP 10 or up).
Well Joe @AxureBoutique, a technical writer and teacher, focuses on Axure prototype design and product design.


Leave a comment